November 24, 2009

Honest Scrap: The Grateful Gardener Version


Although I don't often participate in memes or awards, Catmint from Diary of a Suburban Gardener tagged me with Honest Scrap. She was one of the first garden bloggers I met at Blotanical, and I thought it was so cool to have a grardener friend in Australia. I still do. So I'm doing honest scrap but keeping it on topic, relating it to Thanksgiving, and illustrating with some photos from a recent trip to a local nursery. Here are 10 things this gardener is grateful for:


I am thankful . . .
1. That I didn't cut off my fingers while chopping grain corn stalks at the soil and plant analysis lab where I worked during high school. I'm a clutz. I prayed every day that my knife wouldn't slip and remove a finger . . . and I don't have any stubs, thankfully.
2. That I don't work at a nursery anymore (I have worked at two). Steamy summer greenhouses. An aching back from leaning over to pick up pots. Customers who leave their new plants in the garage while they go on vacation for a few weeks - with no water - then want replacements because the poor things died. I have great admiration for nursery owners and employees that put up with all of this to give us great plants.


3. That I discovered the horticulture program at my university. People in accounting or chemistry trudged to class dutifully, but I wanted to skip to my horticulture classes. My degree provided a great foundation for a lifetime of learning about plants and gardening and design.
4. That seeds sprout. I studied the process by which seeds germinate . . . but I still think it's a miracle. What makes a tiny seed decide to grow toward a great potential? There's some inspiration there for us.


5. For friends who tolerate my incessant gardening chatter. And who give me plants sometimes. And who take the plants that don't work in my yard anymore so I don't have to kill them. And who comment on my blog. Love those gardener friends!
6. For many different garden styles to keep things from getting boring. It's great to read about and see the different gardens that people make. I can enjoy them even if the style isn't what I'm going for in my yard.


7. For manure. But if you've read this blog for very long, then you already know that. There's another life lesson here about how the unpleasant parts of life can become fertile soil for growth . . .
8. For a gardening family. Gardening is in my genes from my father and grandmother. My husband digs holes and removes sod. My kids help spread composted manure (my youngest even ate some of it with no ill effects, amazing). I'd love my family if they didn't garden, but it's even better that they do.


9. For blogging friends. How else would I meet passionate, friendly gardeners from all over the world except by blog? I'm thankful for you.
10. And finally, I'm grateful for the beauty of the earth and opportunities to create beauty in gardens. As a Christian, I see the earth as a gift. How wonderful that it provides not only for our basic needs, but that the earth inspires us with its countless beauties.

Happy Thanksgiving to everyone! I'm cooking a 20 lb turkey and fixings, 3 types of pies, and hosting 16 people for the big meal. I hope your day is just as fun (though maybe less hectic) than mine will be!

November 18, 2009

Mulling Inspiration and Cider


With winter upon my garden, it's time to retreat indoors with a mug of something warm to drink and recall a few garden views that made my heart skip a beat. Not scenes from my young garden of course, but views from established gardens and parks. The photo above shows the stone path at Spokane's Liberty Park. Oooh, this is why I want a path in my garden eventually (though without the stone walls bordering it, unfortunately, that would be too expensive).


I have posted this photo from Northland Rosarium before, but it's worth repeating. I love the fat, lush hostas under the dappled sun and the elegant old bench. Appropriate seating is important to one's enjoyment of the garden. If I ever stop pulling weeds and deadheading, I'll need someplace to sit. I plan to put a couple of benches and a swinging seat within my garden.


Vine-covered pergolas are so romantic. This shot is from the Santa Barbara zoo, and it looks like the vine shown is star jasmine. Too bad I didn't visit in May to see it in bloom. Jasmines don't survive in my climate, but sweet autumn clematis would provide a similar effect with fragrant white blooms in the fall.


Here is another picture from Liberty Park. Of course I have a number of baby lilac shrubs planted in my backyard, since Spokane is 'The Lilac City' and has a lilac festival and parade each spring. I like the way these large shrubs have been pruned to show their interesting trunks and frame a view. I'd like to do that when my babies finally grow tall enough.


I'm hestitant about the maintenance needed to keep up a pond, and I have little children that might fall in, so I'll probably go for a small fountain or two instead. This fountain at La Purissima mission in California is so classic. I love classic.
Looking over these pictures makes me excited to keep working toward my dream garden. What inspires you to continue shaping your garden?

November 13, 2009

Mugshots: 2 Mauve-Pink English Roses


Today I'm highlighting two of the cool-mauve-pink english roses in my collection: Sister Elizabeth (shown above and below) and Charles Rennie Mackintosh (last 3 pictures). While the flowers are very similar in color, the forms of the shrubs differ widely. Sister Elizabeth is very low and compact at about 2.5 feet by 2.5 feet. Charles is taller: David Austin's catalog estimates 4.5 feet high by 3 feet wide.


I planted Charles in the spring of 2008, and Elizabeth joined the garden in spring of 2009. Both of them got off to a rocky start. Charles made a feast for the thrips (I have a major infestation that I haven't figured out how to handle yet). I put Elizabeth in a pot that only received a few hours of intense, hot afternoon sun and then watered her less often than she needed. Next year should be better for them both, as Elizabeth is planted in the ground now and I'm going to use a systemic insecticide on Charles (hopefully this will be a temporary tool until my garden's biological balance is better).


But even with their poor care, you can see that their flowers are sweet and dreamy. Maybe part of that dreaminess comes from me using the 'soft focus' button a bit too much in Picasa. Sorry if I went a little overboard.


The great thing about this color is that it blends well with my crimson 'William Shakespeare 2000' roses and with other cool colors in arrangements. Both of these roses have medium sized flowers, which provides a nice contrast to large roses. Charles makes a much better cut rose than Elizabeth, though. You know how cut flowers get that tissue-paper-soft texture right before they wilt in the vase? Elizabeth's flowers always seemed to be like that, even as they opened on the bush. But that might have had something to do with my watering issues.


As for their placement in the garden, Elizabeth definitely belongs near the front and makes a good groundcover rose for a small area. Tall, upright Charles needs to be in the middle of the border with surrounding plants to brush against his stems. Neither one had problems with rust or blackspot in my garden, though both had some powdery mildew by the end of the season (again, better watering might have staved that off). I'm glad to have these sweet flowers in my garden and hope to take better care of them in the future.

November 4, 2009

Better Blog Photos Part 2: Picasa 3.5 vs. Photoshop 7

I promise to get back to horticulture posts soon, but I have discovered some more tricks to improve blog photo quality and want to post about them. Thanks very much to everyone who shared their methods on my previous post. After reading your comments, I downloaded Picasa 3.5 to compare it to Photoshop Elements 7. Aha! I think I figured a few things out. I am not an expert, but here is my 2 cents' worth on the differences between these two photo editors and when you'd want to use them.
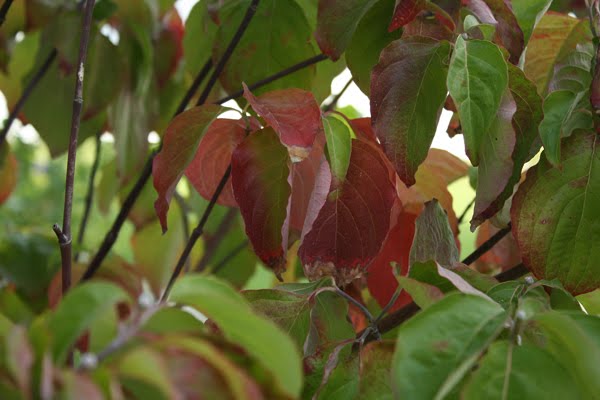
But first let me share these first four photos so you can see differences for yourself. The first one hasn't been edited at all, except to downsize it to 600 pixels wide and 300 ppi resolution. Dreary. No magic.


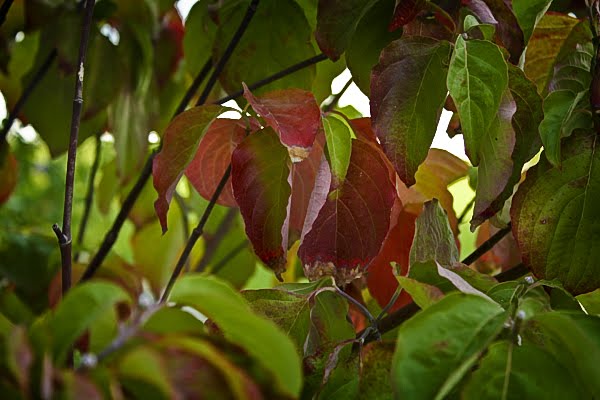
This next photo was edited in Photoshop Elements and looked vibrant and beautiful before uploading. But Blogger's uploader doesn't like jpeg files that have been edited in Photoshop, and it sucks out a lot of the color, especially the red and black.


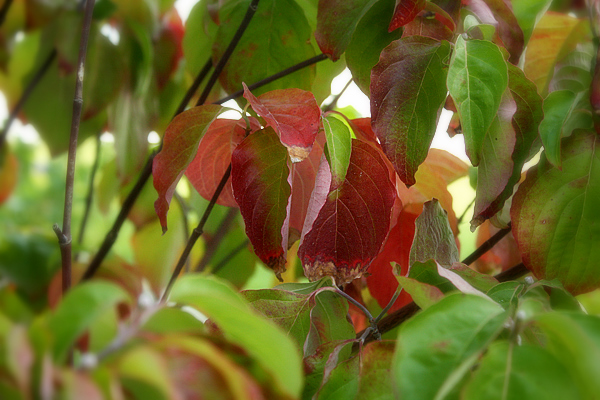
This next photo was edited using just Picasa 3.5. It has more color, but I couldn't do the darken-the-edges trick that I pulled in Photoshop. I like the soft edges button in Picasa, though.


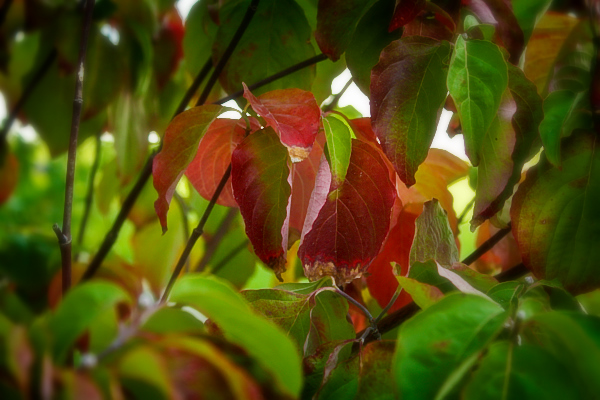
This last photo was edited first in Photoshop, then I used the soften edges button in Picasa and uploaded it using the Picasa editor. Shebang! Color, contrast, a bit of magic.


After playing around with Picasa 3.5 for one night and using Photoshop Elements for a year, here are my observations. Picasa is easy to figure out and covers most of the basic edits that will enhance photos for web use. The button/slider combos allow you to quickly create some fun effects. Photos uploaded to Blogger from Picasa will not get faded. And Picasa is free. I think competent Picasa users can get to a fairly high level of blog pictures - as good as 90% of the garden blogs out there.
If you want to get to the very tippy-top of cool photos, you'll need to learn Photoshop (or Photoshop Elements, like I have). That's what the professionals use. But that requires money - both to purchase the program and to purchase online training or how-to books. You won't figure out the fancy tricks on your own. It also requires quite a bit of time to learn the cool stuff that Picasa can't do . . . obviously I'm still learning. And uploading Photoshop-edited files directly into Blogger will fade them. So for many busy garden bloggers who aren't intensely interested in photography, Photoshop doesn't seem necessary.


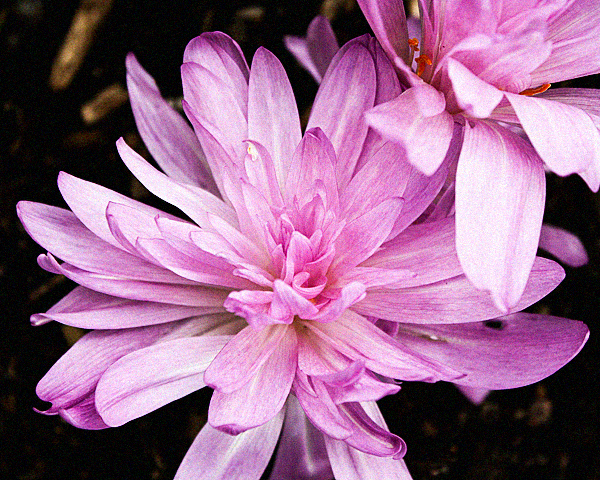
Finally, if your photos are getting faded when you upload to Blogger, this paragraph is for you. The picture above is yet another version of the autumn crocus 'Waterlily' from my last post. But I played with it in Photoshop Elements to give it a more artsy feel. I couldn't have done this in Picasa. To get it into my blog without fading and without using another photo-hosting website (like Photobucket or Flickr), I opened the picture in Picasa 3.5's editing program that I recently downloaded for free. Then I clicked the green 'Upload' button at the bottom of the screen to send it to Picasa without fading. The key is to use Picasa's program on your computer to upload to Picasa's website. When the upload is complete, you can click on the 'View Online' button, which takes you right to the screen where you'll copy the large format photo link to paste into your blog (see my previous post for full instructions). So the process doesn't add a lot of time. Hooray! I was very excited when I figured this out. Maybe I won't have to switch to Wordpress after all.


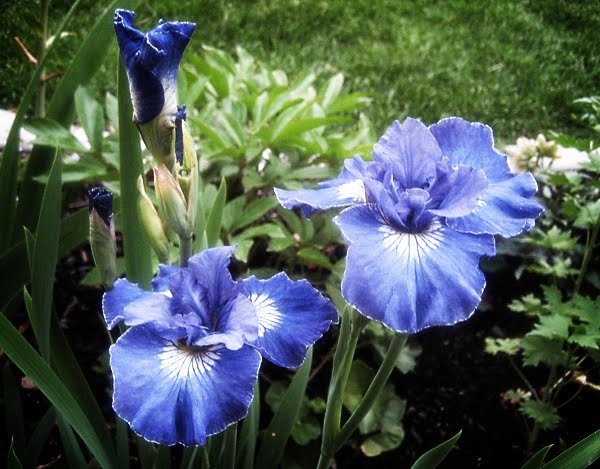
I couldn't resist just one more Photoshop-Picasa-blend edit. Contrast and color adjusted in Photoshop, then the Glow button in Picasa. I hope this post helps you weigh out your editing options. Isn't this editing stuff fun?


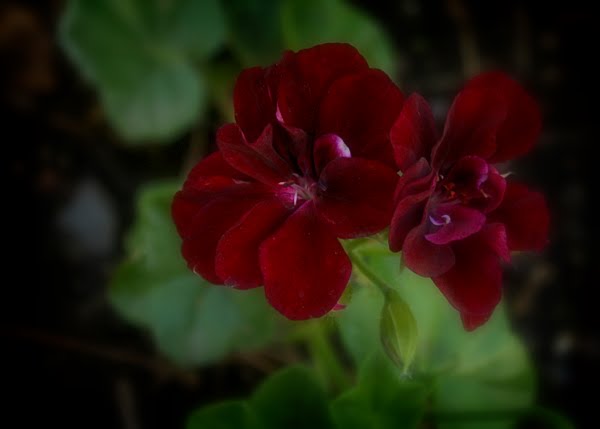
Oh dear, I think you might get the wrong idea from the autumn crocus and iris photos with soft colors . . . I made them that way, they didn't get faded from uploading. So here's a really saturated geranium (and I like this one soft instead of super sharp). Plenty of red and black here!

November 2, 2009

Getting Higher Quality Blog Pictures


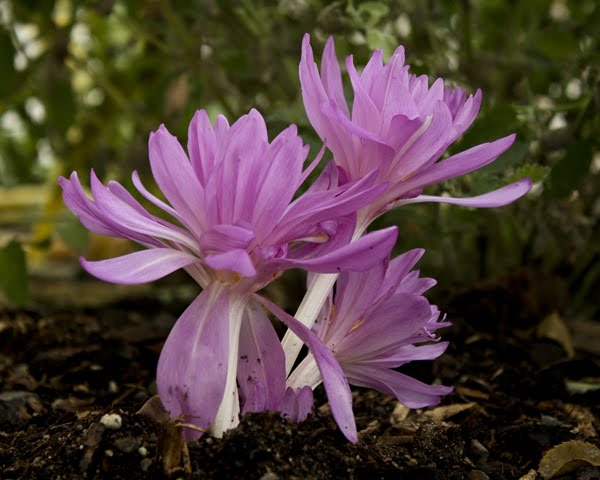
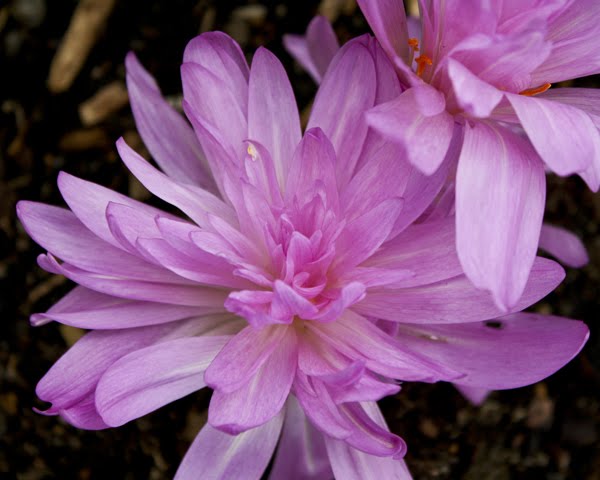
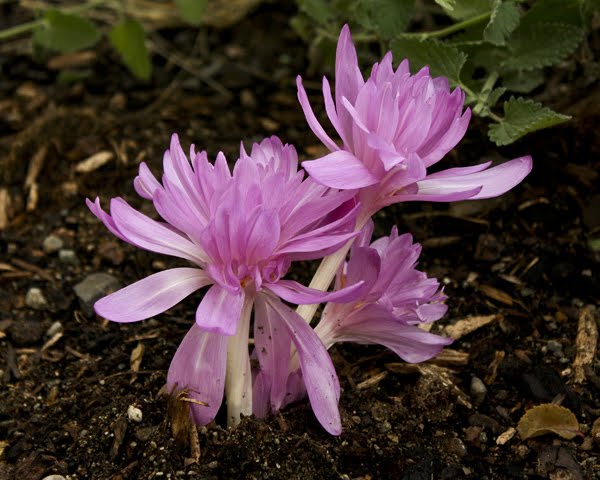
Warning - if you aren't interested in the technical details of improving blog picture quality, then just enjoy the photos of autumn crocus 'Waterlily'. Aren't they pretty? Especially since these are the the ONLY FLOWERS blooming in my yard right now.
Anyway, I have been working to improve my garden photography and I'm considering a lens upgrade for my camera. But none of that would be apparent on my blog if I continued posting pictures in the same manner as before. So I've been searching out options.
I was taking pictures on a high quality setting and then just saving them as smaller files from Photoshop Elements. But when I clicked on the photos to enlarge them from my blog, they opened up into a huge, poor quality image. Enter Scott Kelby's Photoshop Elements 7 book, and I finally figured out how to save higher quality, small files for my blog.


When I was ready to edit these pictures, I opened the files one at a time in Photoshop Element's RAW editor (use the Open As from the drop-down menu and change the file type at the bottom of the pop up screen to RAW, then select the file). I shoot in jpeg, not RAW, but the RAW editor has some cool tools that aren't available in the normal Elements screen. Like the highlight clipping warning and the Recovery slider that reduces the blown-out highlight problem. I love that one. And the Clarity slider, that sharpens my photos in a different way than the normal sharpening, so I can use them both. And the Vibrance slider, and the Masking slider . . .


Anyway, enough gushing about the RAW editor. When I was finished editing in RAW, I clicked the Open File button to open the picture into regular Elements. Then I selected Image - Resize - Image Size from the drop down menu. I made sure the Resample box was checked, then changed the Resolution to 300 and the Width to 600 and clicked OK. Then I chose Save As and made sure the quality slider was all the way to the right side (the highest quality setting). My files ended up between 200 and 400 kb - much smaller than the originals.
Buying Photoshop Elements 7 ($50 at Costco with coupon, $80 normally) and Scott Kelby's Photoshop Elements 7 book (currently $31 at Amazon.com) has made a huge difference in my photos. I also checked out Photoshop Elements 7 for Dummies from my library, which gave me some background on the basics of Elements. If you have some time to learn and don't want to shell out for the 'real' photoshop ($600-700- ouch), I'd recommend this approach. And no one paid me to say that.


If you want bigger pictures, you'll need to widen your blog. See this link to learn how to do that. Then visit Robin from Robin's Nesting Place to find out how she posts larger files from Picasa. A friend of mine uploads to Flickr and then links the photos to her blog. She gets better color that way (my photos all look faded after uploading to Picasa). But I tried that and the pictures kept disappearing after a few days. I'm wishing now that I had started blogging at Wordpress, but I don't want to abandon my old posts and don't have time to repost all of them. So this will be my method for now. What method do you use? Leave your tips and we'll all be grateful!
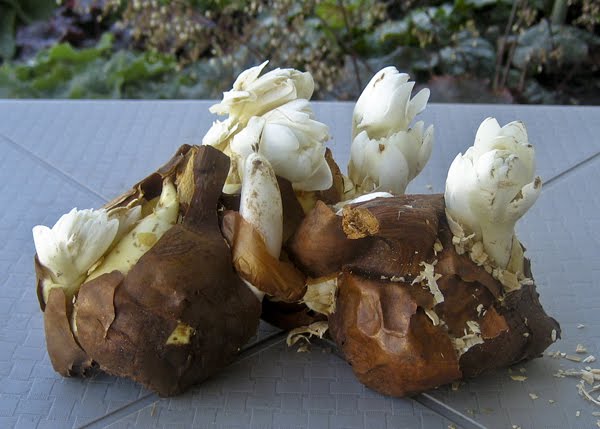
PS - This last photo shows the autumn crocus bulbs from White Flower Farm. They're as big as potatoes, with several flowers sprouting from each one. I'll post pictures of the foliage when it appears in the spring.


Added - I just downloaded the Picasa editor and used it to re-edit this photo. One thing I forgot to mention is that resizing images in Elements does soften the edges; I should have resharpened before uploading them. So I clicked the Sharpen button and the Auto Contrast in Picasa. I tried the Auto Color but didn't like the result, so I cancelled that. The color in this last photo looks like the color in the photo that is saved on my harddrive. You can see the huge difference between this and the first version of this photo, above, that I uploaded without re-editing in Picasa. SO . . . if I'm serious about getting good color in Blogger, I need to edit in both Elements and Picasa before uploading to my blog. Using the Picasa editor preserves the vibrance. Or maybe I'll just switch to Wordpress, since Frances says it's so easy?! I'll have to think about this for a bit.