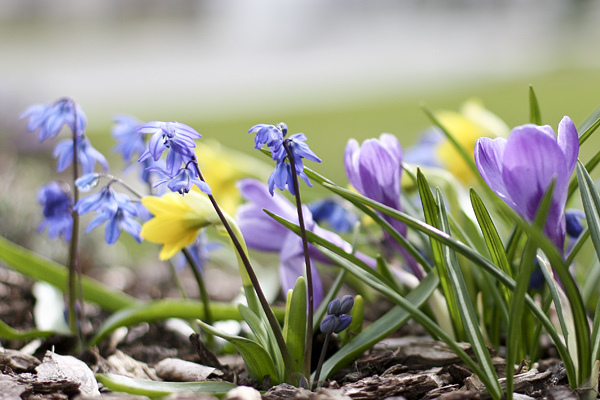
This month I bought 'Fine Art Wedding Photography' by top photographer Jose Villa (available from Amazon
here) and have enjoyed studying his methods and thinking of ways to apply them to my garden photography. Here are five of his tips that can apply, along with my attempts to illustrate his points with photos of the spring bulbs in my garden. Included are 'Tete-a-Tete' mini daffodils, 'Spring Beauty' scilla and 'Grande Maitre' crocus. Of course my photos are nowhere near as beautiful as his, which you can see on his blog
here.
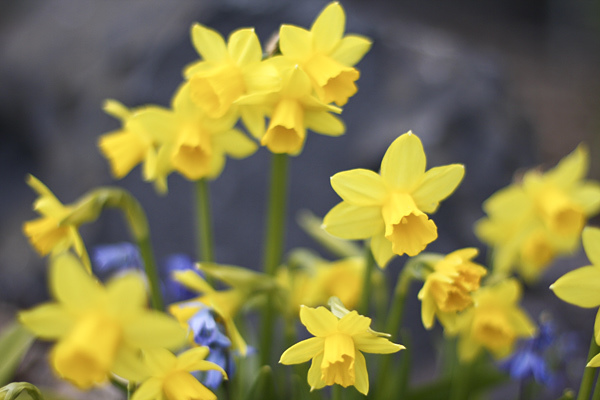 1. Photograph with your aperture wide open (ie with a low f-stop).
 In layman's terms, this creates a blurry background. It requires leaving full auto mode and going at least to Av mode, if not full manual. Unlike Mr. Villa, I am not quick enough with manual to use it much, so I set my camera to Av mode so I can push the f-stop all the way down to 2.8 or 1.4, depending on which lens I'm using, and let the camera figure out the rest of the settings. A bonus to using a low f-stop is that it reduces the blurriness from camera shake, which is especially helpful in dimmer light. You can see in the photo above that not all of the daffodils are on focus thanks to an f-stop of 2.0.
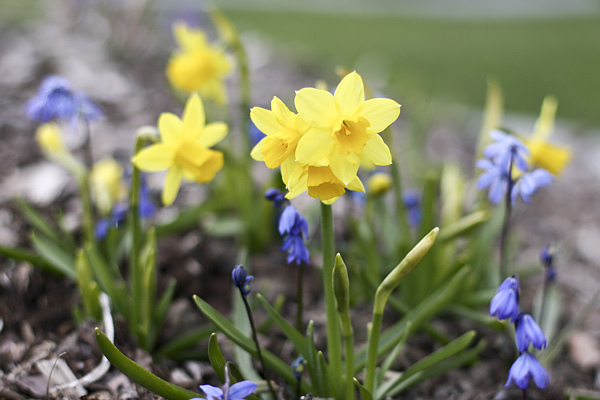 2. Take advantage of the soft skylight that lasts about 10 minutes after sunset (or before sunrise).
 Mr. Villa goes so far as to check sunset times on days when he's shooting a wedding so he can make sure to have the newlyweds available for photos during this time. Well, most photographers already know that the best light is right around sunrise or sunset. A cloudy day can produce similar light. The nice thing about this type of light is that there aren't many shadows, so you can shoot in any direction. This light also lets you capture good colors instead of the washed-out hues that can occur in strong sunlight.
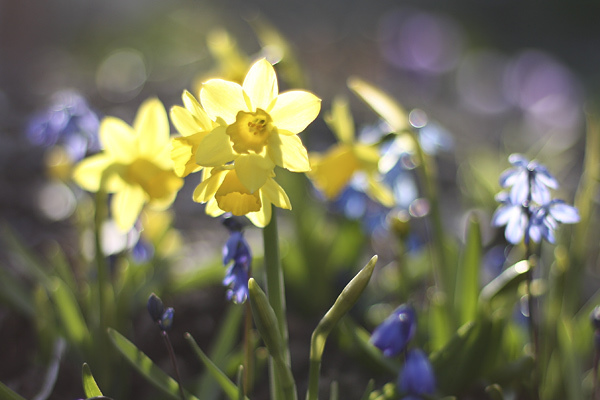 3. Backlight your subject when shooting in strong sunlight
. When I first started taking pictures for this blog, my instinct was to do exactly the opposite, and shoot with the sun at my back. But backlighting (shooting with the sun behind your subject) creates especially pretty pictures when the light is low just before sunset, with the flowers glowing. The photo above shows the same clump of daffodils and scilla as the photo above it, only one is backlit with the setting sun and the other is lit with soft skylight. The backlit flowers are very striking, though perhaps you can see true colors and detail better with the softer lighting.
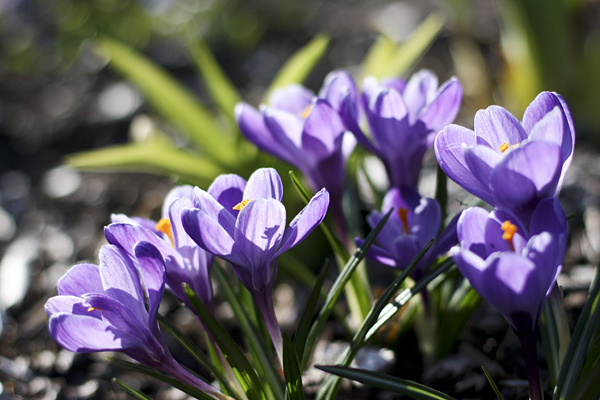 4. Expose for the shadows.
 This applies to backlit subjects. To do this (sorry for the non-technical terms here), make sure that the center red dot on your screen flashes/beeps right on the point (often the center of a flower) where you want the best focus and correct exposure. This will cause you to lose some detail in the 'blown out' highlights of the background (which will be blurry anyway since you're shooting with a low f-stop), but will keep your focal point clear and properly exposed. This makes the overall photo brighter, with soft colors and glowing light. In the photo above, you can see white splotches in the background that have no detail thanks to the low f-stop and overexposure, but they don't detract from the flowers in the focal point, and the whole photo is filled with light.
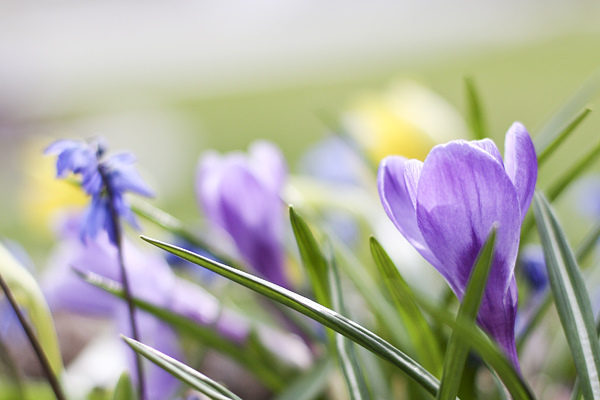 5. Overexpose for soft colors and glowing light.
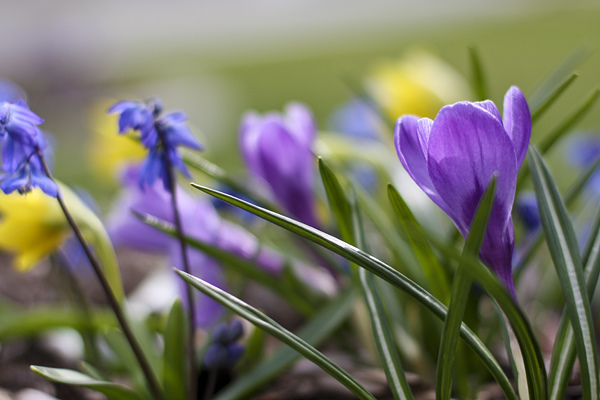
 I have a hard time giving up vivid colors to create this effect, but I tried for this post. You can see that the photo above is slightly brighter and the colors softer than the one below. Mr. Villa overexposes by adjusting his manual ISO setting to one f-stop below the speed of the film (so he sets 3200-speed film at 1600-speed). Since I'm not that proficient in manual and I don't use film, I adjusted the exposure on my computer by using Photoshop Elements' RAW editor.
Of course most of us aren't going to be able to create photographs as beautiful as Jose Villa's, but experimenting with his methods could help us capture some shots that are better than expected. I'm certainly having fun with his tips, and can't wait to try them out while photographing my children, too. If you try any of these tips and have success, be sure to leave a comment and post a link to your photo(s). Best wishes!


